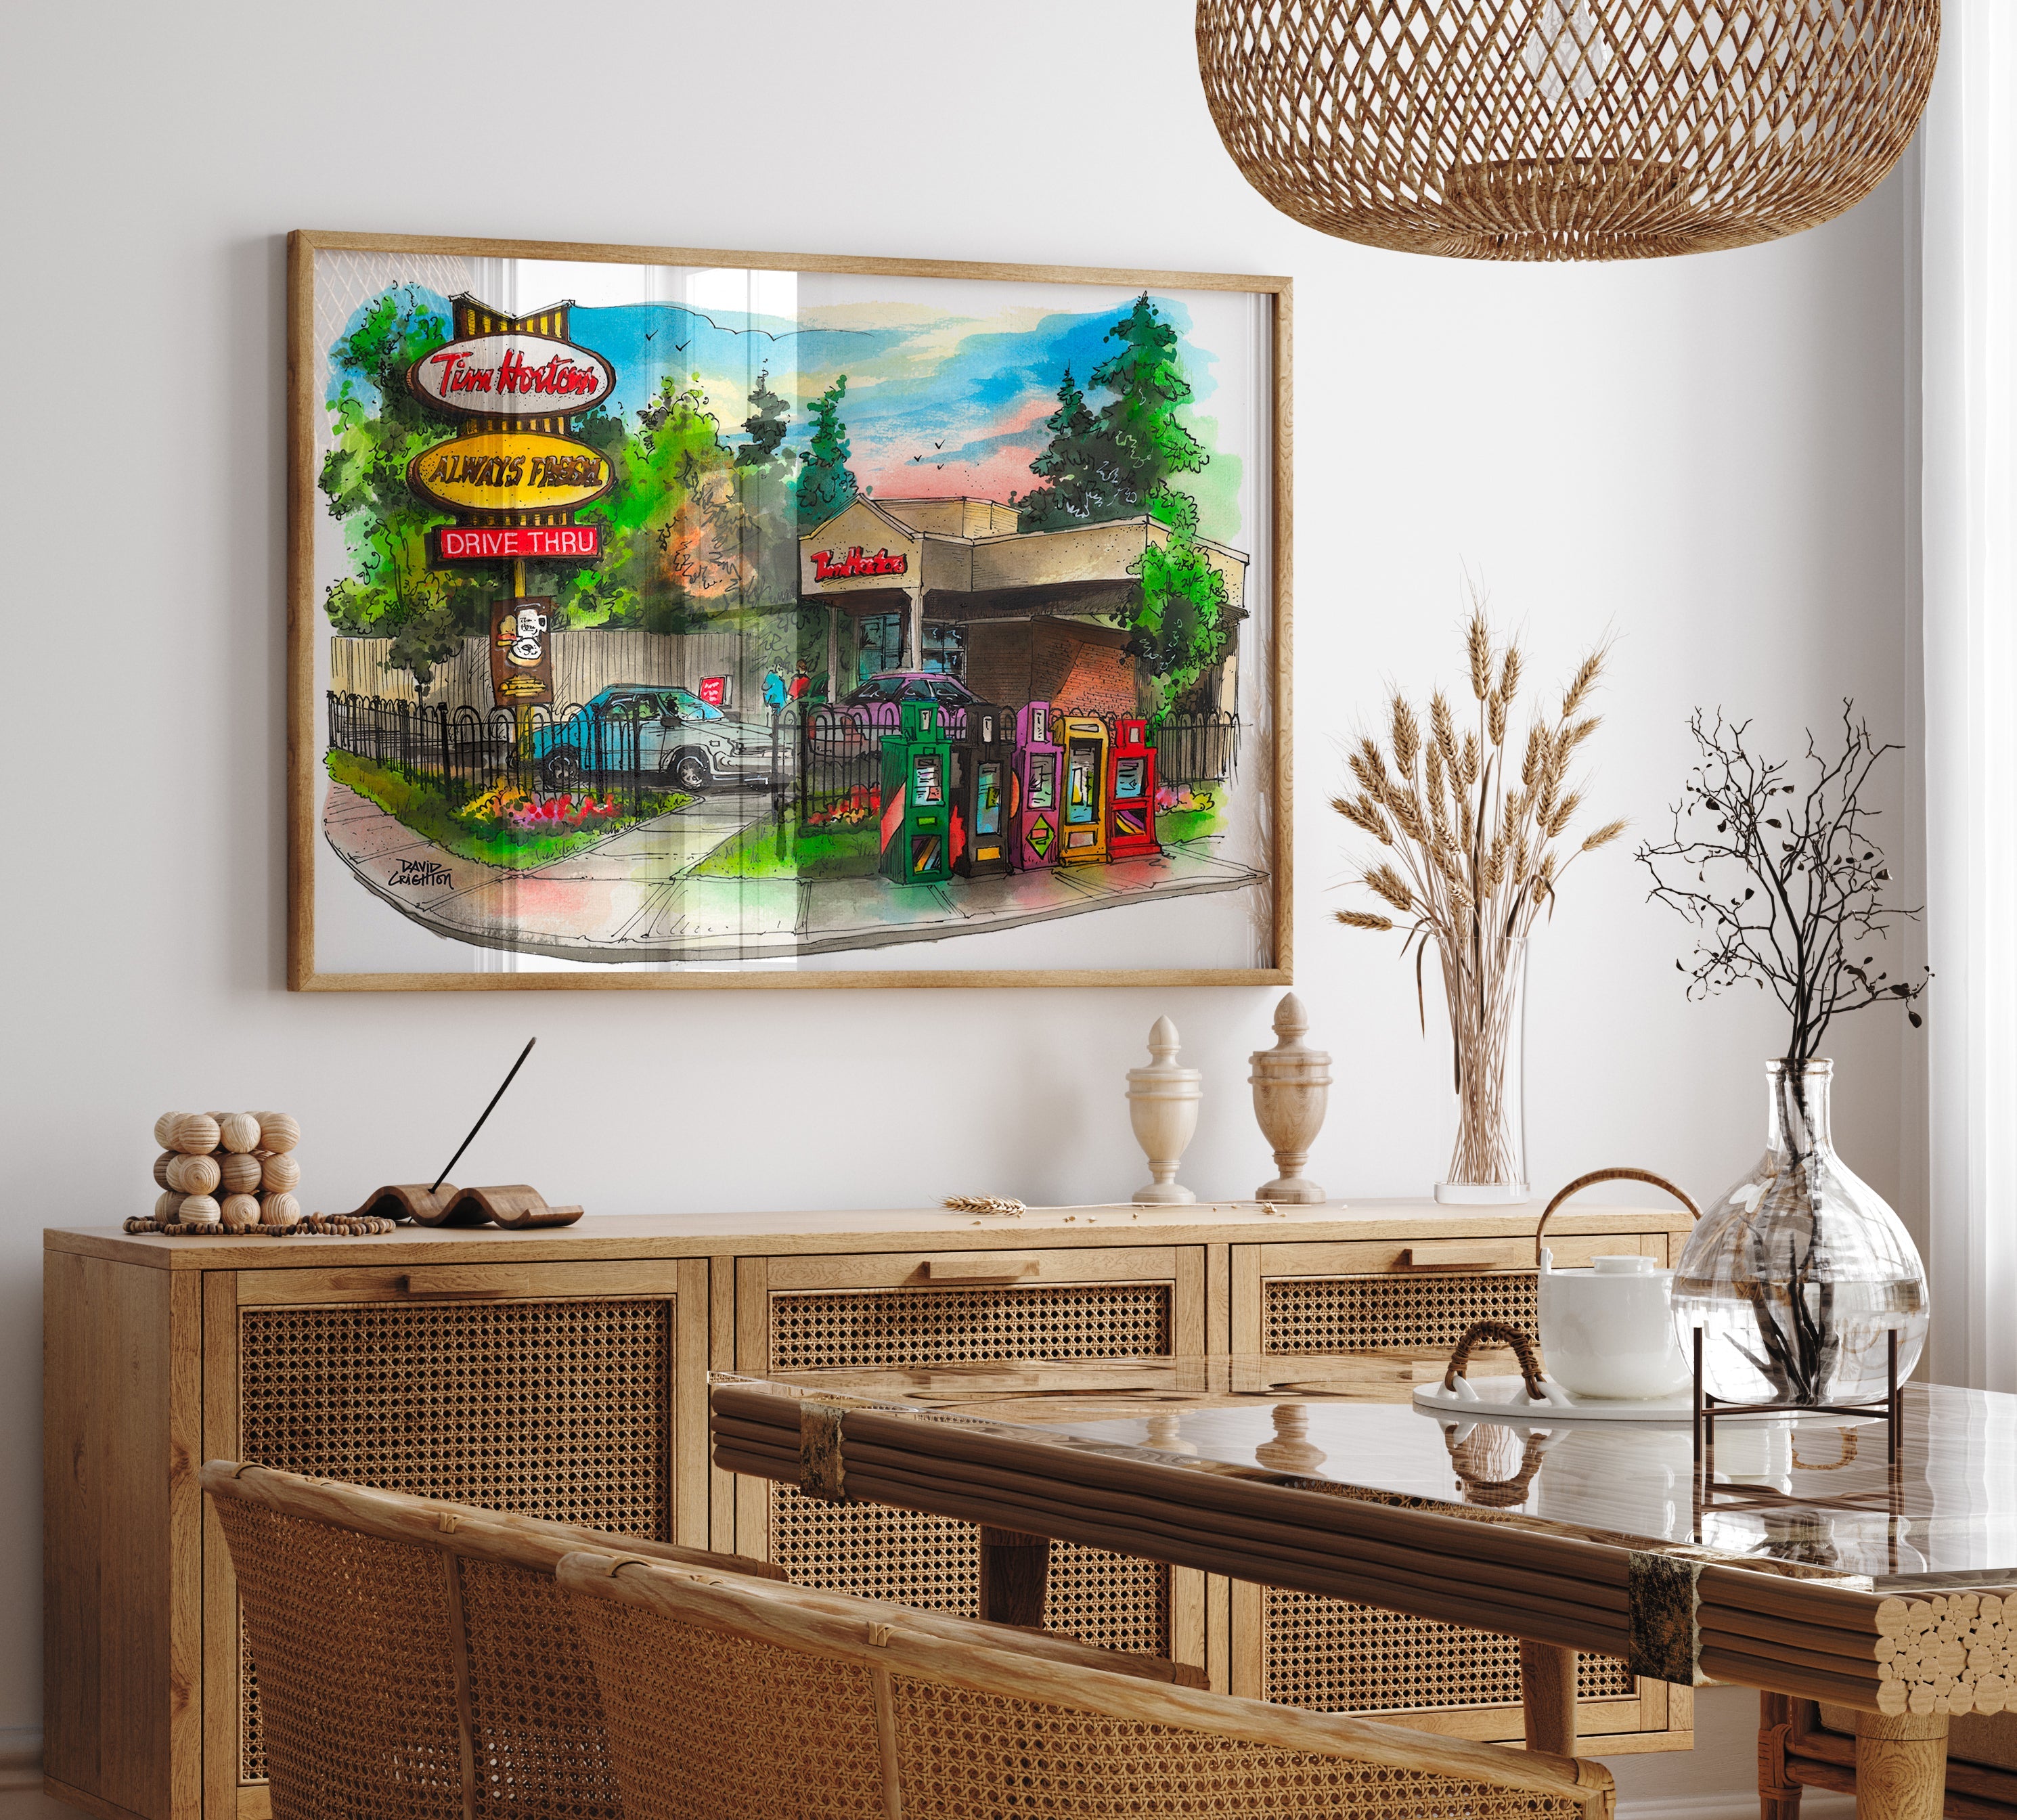
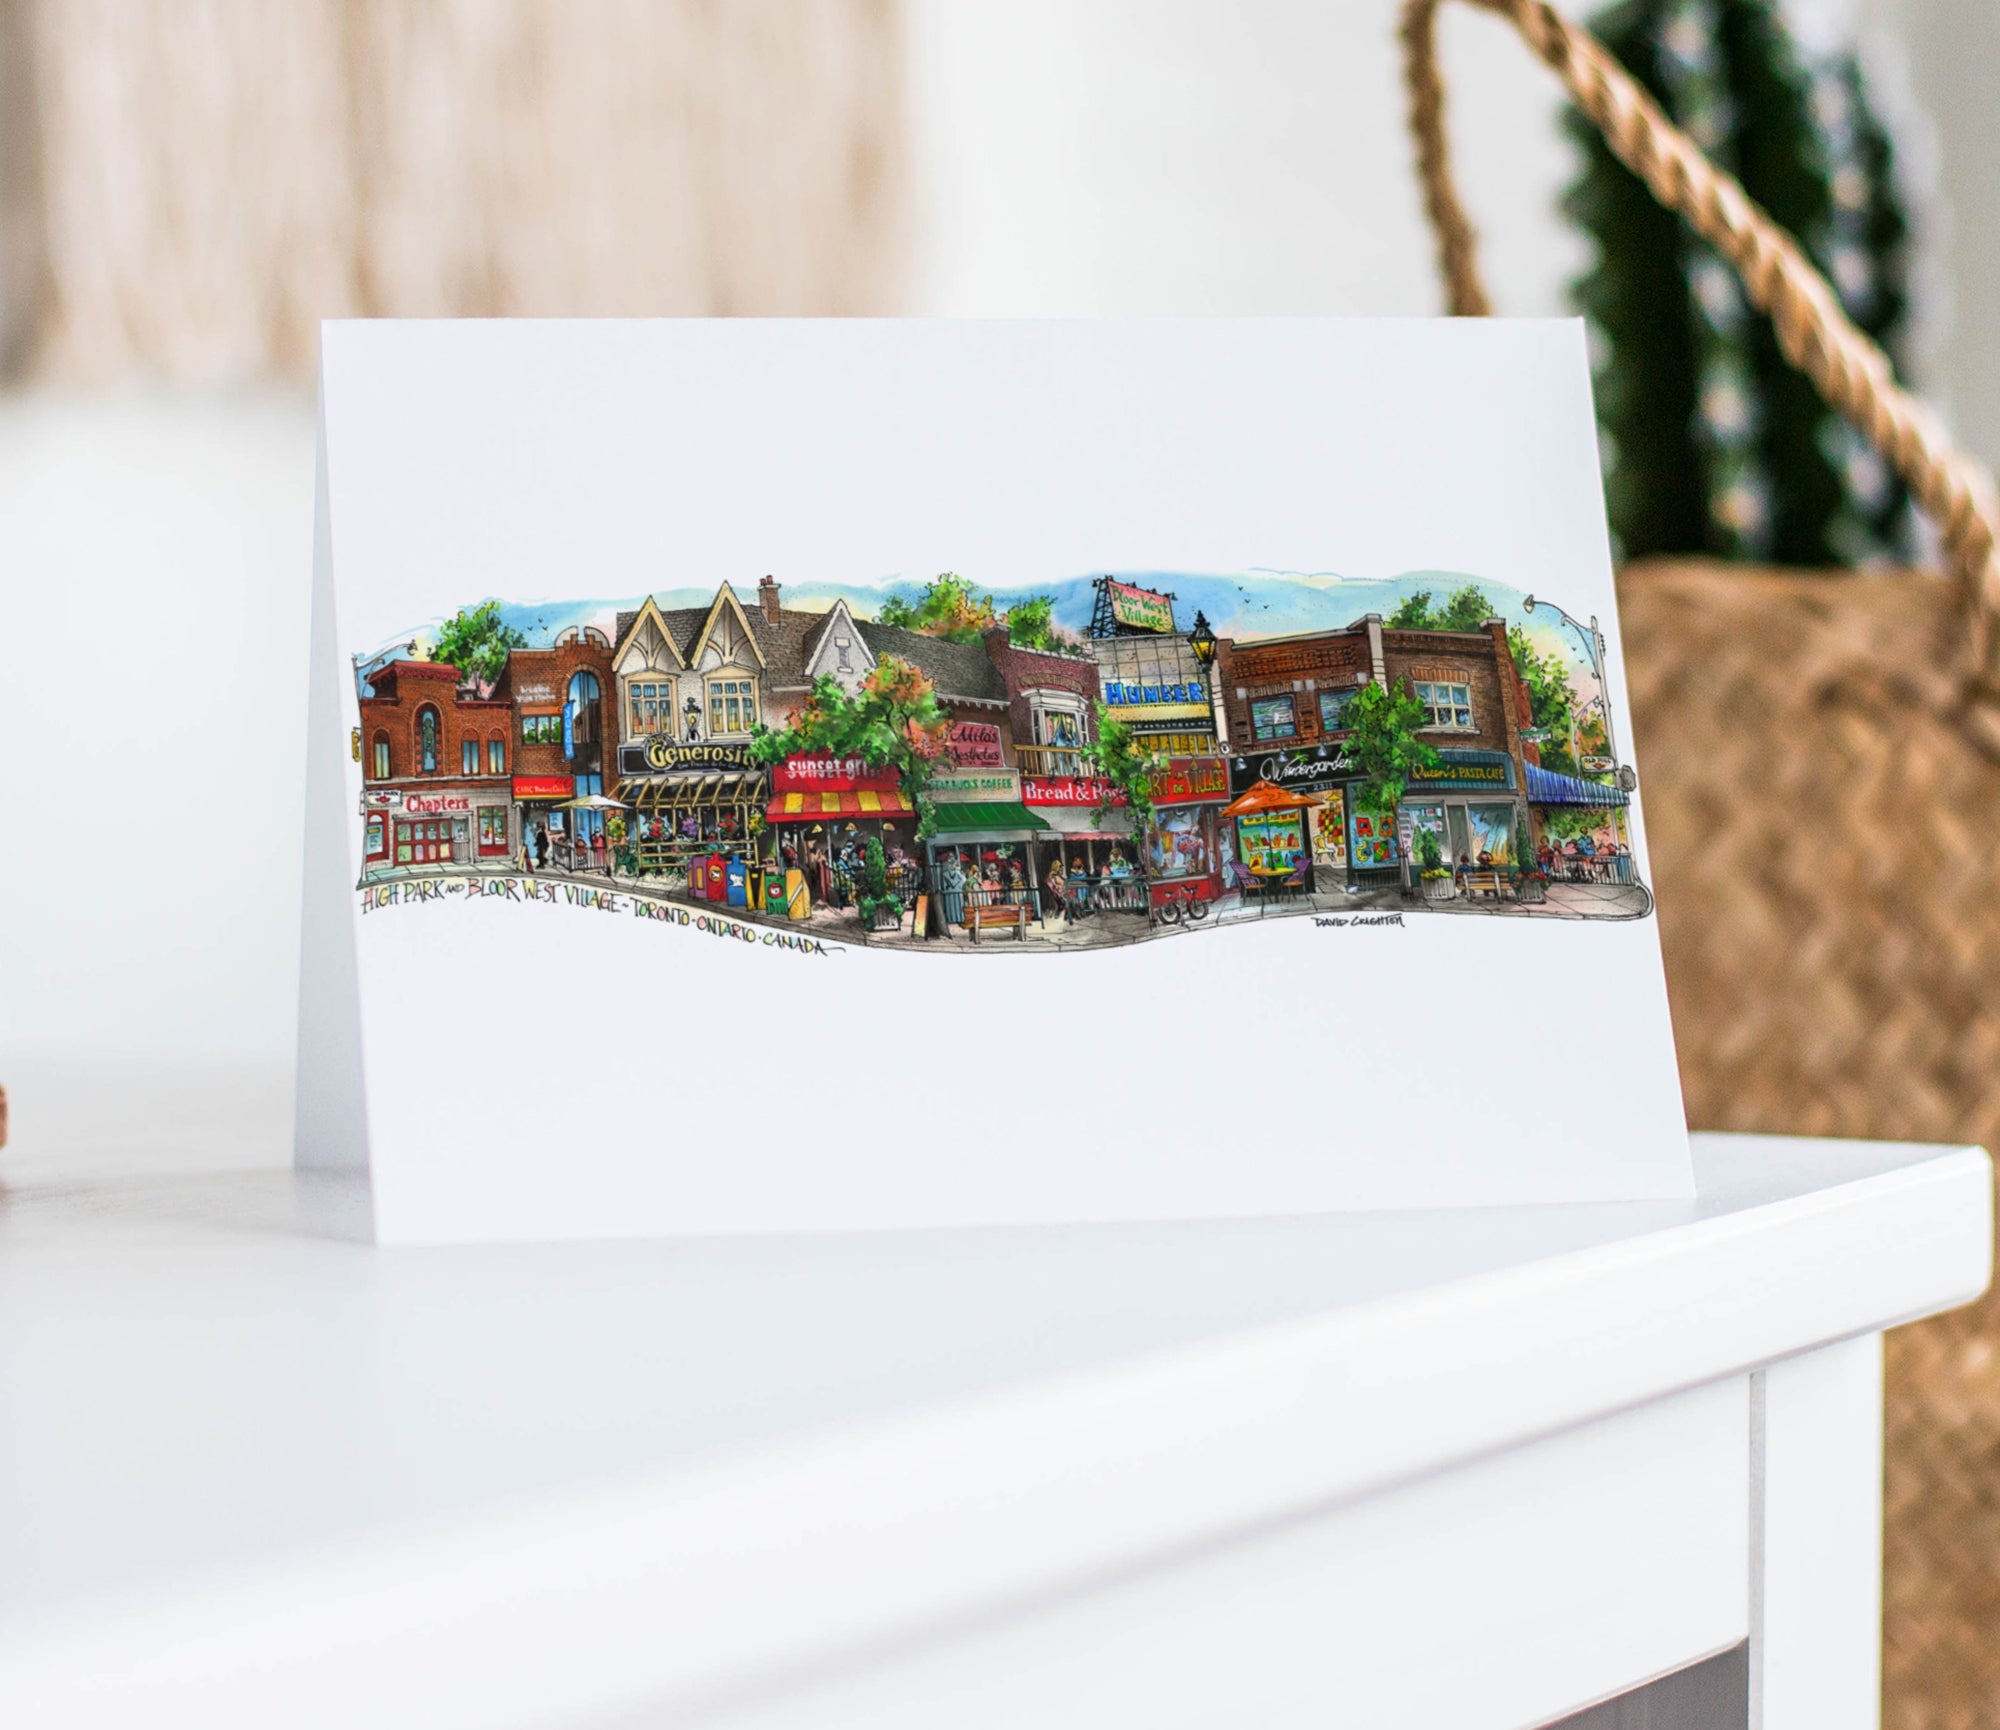
Like hardwood floors or marble accents, gallery walls are timeless and never go out of style. But pulling a gallery wall of your own together might feel a little daunting. The great news is that you don't have to spend much money to create a gallery wall for your home. So whether you curate your wall with family photos, posters you collect or create a gallery wall featuring your favourite Toronto landmarks by artist David Crighton, I've got a formula for your success!
What would you like the focus of your gallery wall to be?
Do you have a bunch of family photos you want to use to create a rogue's gallery of ancestors? Maybe you collect postcards, posters or artwork of popular spots in the city where you live or cities you have visited in your travels. Establishing the theme of your gallery wall will help you choose the images and items you will bring together.

|
Where in your home will your gallery wall be?
Decide where your gallery wall should be in your home. The sizes of frames you select will have a lot to do with the size of the area that you choose for your exhibition. You will want to ensure that you don't overcrowd the space and that your gallery wall will be the focal point of the wall space. (Don't have too much busyness to compete with your efforts).
One of our clients decided to make a poster gallery wall of his favourite Toronto landmarks as a focal point for his sweeping backyard renovation!
 |
Shop garage sales and flea markets for cool frames
Keep your eye out for cool picture frames of various sizes appropriate for the space you are creating your work of art. Knowing what you want to hang will help you figure out what sizes your frames should be. You can find these at garage sales, flea markets or local arts and crafts stores like Michaels or Hobby Lobby.

|
Tricks on how to plan the layout for your wall
Trace all the items you want to hang on your gallery wall and cut them out. Then you can tape them up on your wall and move the traced paper "templates" of your frames around until you find the right balance. No need to put a ton of holes in your walls!
OR
- Measure out the amount of space you want your gallery wall to fill
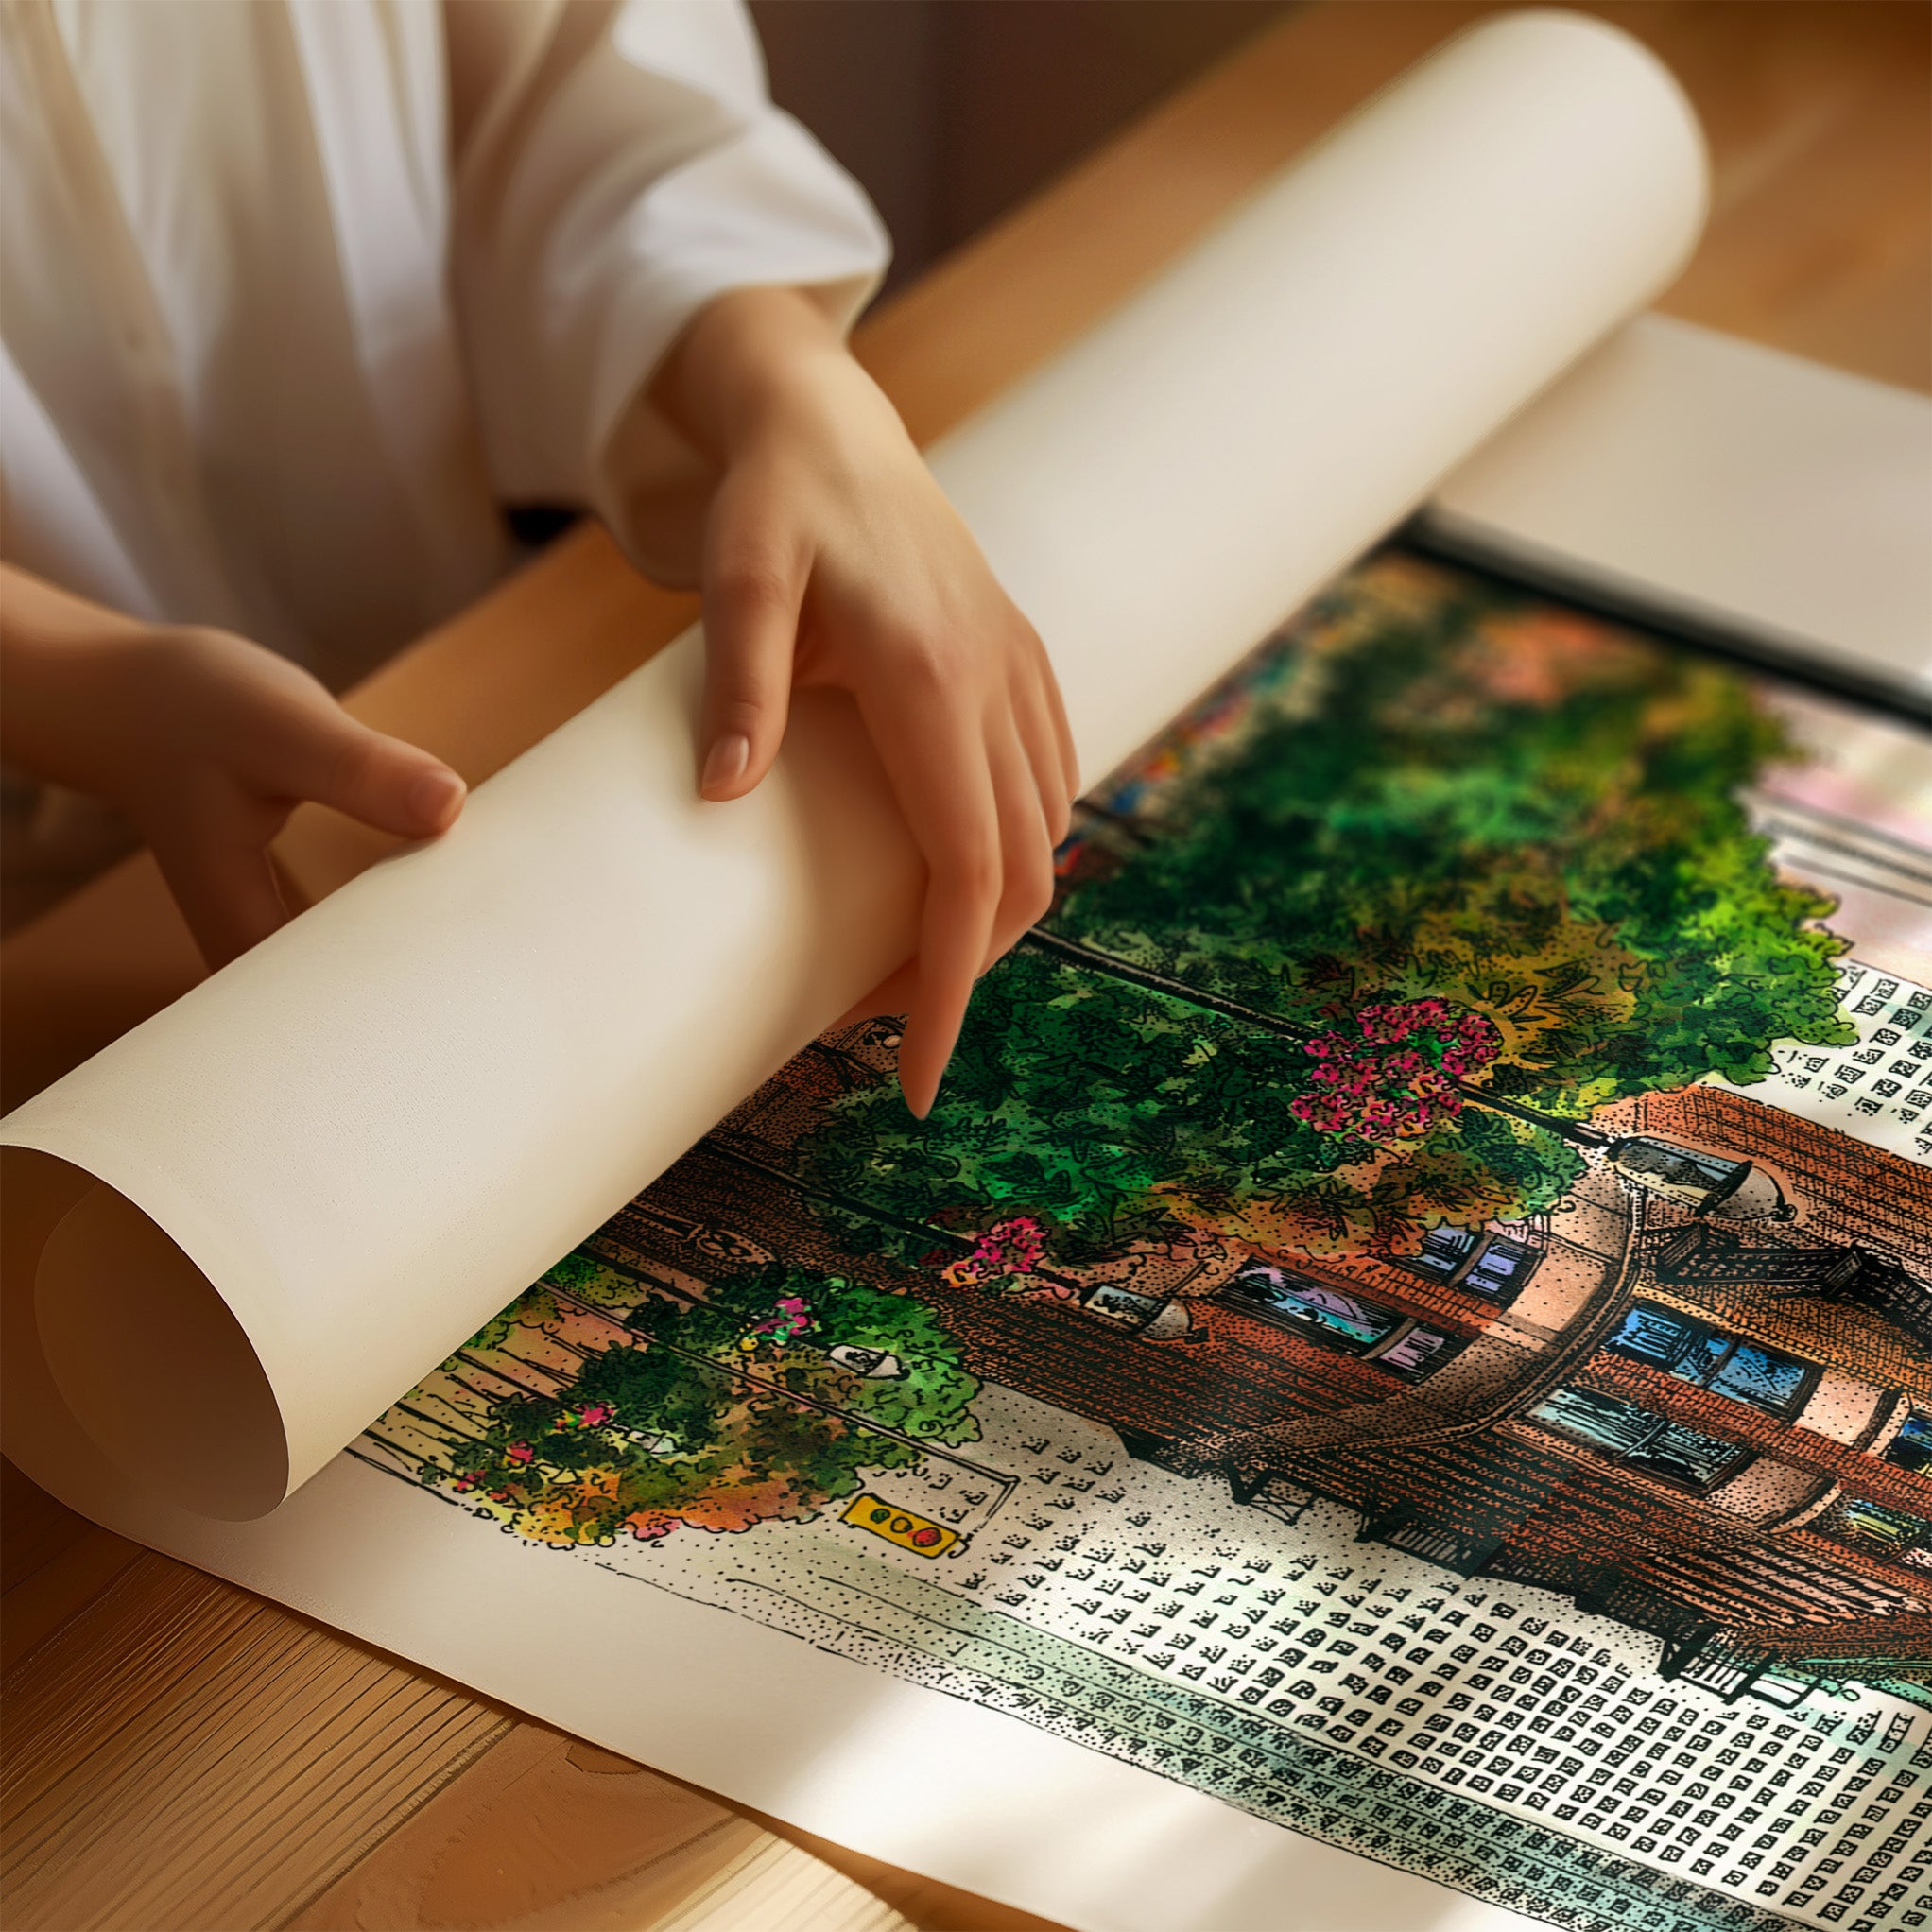
- Tape off a box that size on your floor (or, if you have access to it, a few strips of that wide kid's art paper that comes in the rolls, taped together)
- Lay out all your pieces within that area. Then you can play with all the art placement for as long as you like, moving things around without fear of wall damage. This way, you can make sure your art all looks good together.
Visit Emily Henderson's fab Design website for great decorating ideas.

|
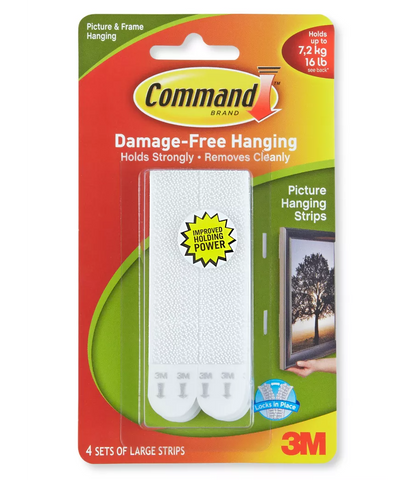
Use 3M Strips instead of nails for lighter and smaller objects.
When it comes to hanging, the best-laid plans are just that. But, if you're like me, you'll change your mind more than a few times! So, using 3M strips helps "nail" the final layout.

|
Consider Adding Other "Found" Items to your Gallery Wall
Maybe you have tickets from a show that you could frame and include on your wall - a plate, mirror, clock or other memorabilia or knick-knack that might make an exciting addition to your wall. Make your wall as unique as you like - it's your wall, after all!

|


Leave a comment